Chocolate Orange and Walnut Cake
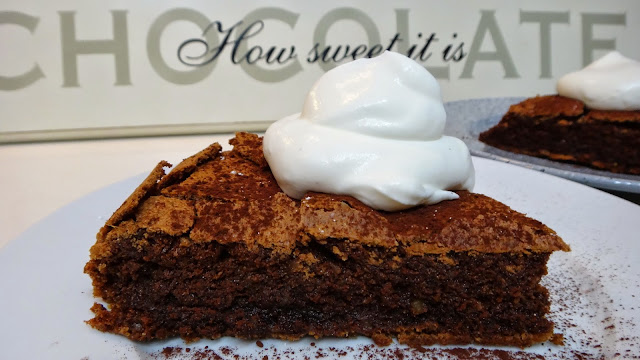
It has a crunchy meringue like top and the inside is moist and rich. There is a nice balance between great quality chocolate and orange flavours and I simply cannot tell you how perfectly this goes with the soft, slightly sweetened whipped cream! Perfect!
In fact, my husband Big Pete said it was one of the best chocolate cakes he had ever had and neither one of us has a Gluten issue. Those who do will love it because it is not your typical dense gluten-free cake. In Europe many cakes have always been made with nut flour instead of wheat flour.
You will need:
- 1 cup fresh walnut pieces - which will be processed to a walnut flour (1/4 cup used for dusting pan and rest in cake)**note you can replace walnuts for almonds or other nuts
- 1 tbsp butter for coating cake pan
- 1/4 cup mild olive oil or butter which ever you prefer
- 150 grams of great quality dark chocolate - broken into pieces
- 4 eggs - separated (room temperature)
- 1 cup sugar
- 1/4 tsp salt
- 1 tbsp orange zest
- 1/4 cup fresh orange juice
- 1 cup whipping cream whipped with 2 tbsp vanilla sugar until soft peaks
- bit of powdered sugar or cocoa powder to top
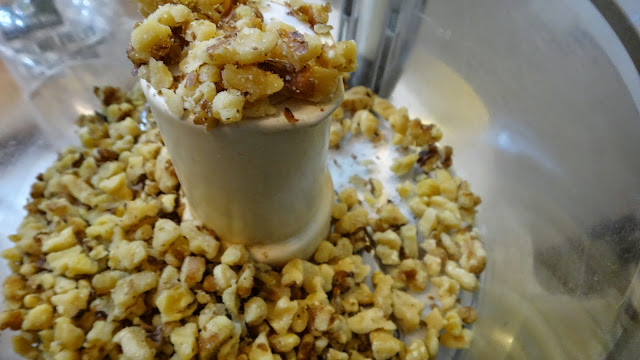
Step 1: process your walnut pieces for approx 10 seconds - you want a powder but, if you process too far it will turn into nut butter. You can use almonds, hazelnuts/filberts or your favourite nut here.
Step 2: place a piece of parchment paper on the bottom of a 9 inch spring form cake pan and click the spring form right over it. I don't even trim it. Then take 1 tbsp of butter and grease sides and bottom of pan. Remove 1/4 -1/3 cup of the walnut flour and coat the pan - knocking out any excess back into the bowl of the remaining walnut flour to be used in the batter of the cake.
Step 3: add a few inches of water to a small pan and place a bowl over the top to form a water bath. Heat on stove over medium heat to melt broken pieces of chocolate and butter (or olive oil). Let sit over heat for a few minutes before stirring. Once melted remove from stove and pan to cool before adding to cake batter.
Step 5: add 1 cup sugar to egg yolks, orange juice and orange zest. Mix with a whisk or hand mixer for 3-4 minutes this will dissolve the sugar and the egg yolks will become a lighter, paler colour.
Step 8: add cooled melted chocolate and mix well.
Step 9: fold in egg whites with a spatula until just incorporated. Folding is when you cut your spatula into the middle of the bowl and then cut down to the bottom and fold towards yourself, then flip back into the middle. Keep spinning the bowl, cut, fold over and turn...repeat until just blended. You don't have to be scared or worried about this step just don't whip it or stir hard or you will deflate the eggs you spent time whipping.
Step 10: Pour batter into prepared pan and bake at 350 degrees F for 35 minutes. It will puff and then crack and fall a bit.
Remove from oven and let cool at least 20 minutes (it will deflate and crack which is fine) run a knife around cake pan to loosen and unhook. Top with a bit of powdered sugar or cocoa and serve with whipped cream. Stays fresh in a covered container at room temperature for a few days. (I just cover the plate it's on with the Spring form pan flipped over.)
I like to eat this while slightly warm best but, honestly it is still fantastic a couple of days later!!


Comments
Post a Comment